Recipe Box: Beef Stir Fry

Friends, today is a hard day. I don’t want to preach or soap box, but I needed to say that if you’re feelings are raw or your heart hurts or you’re feeling vulnerable this morning, know that you are not alone. I’m feeling that right alongside you – and I know that the best way to move forward is to take care of each other. We’ve all got each other, no matter our differences. We can heal.

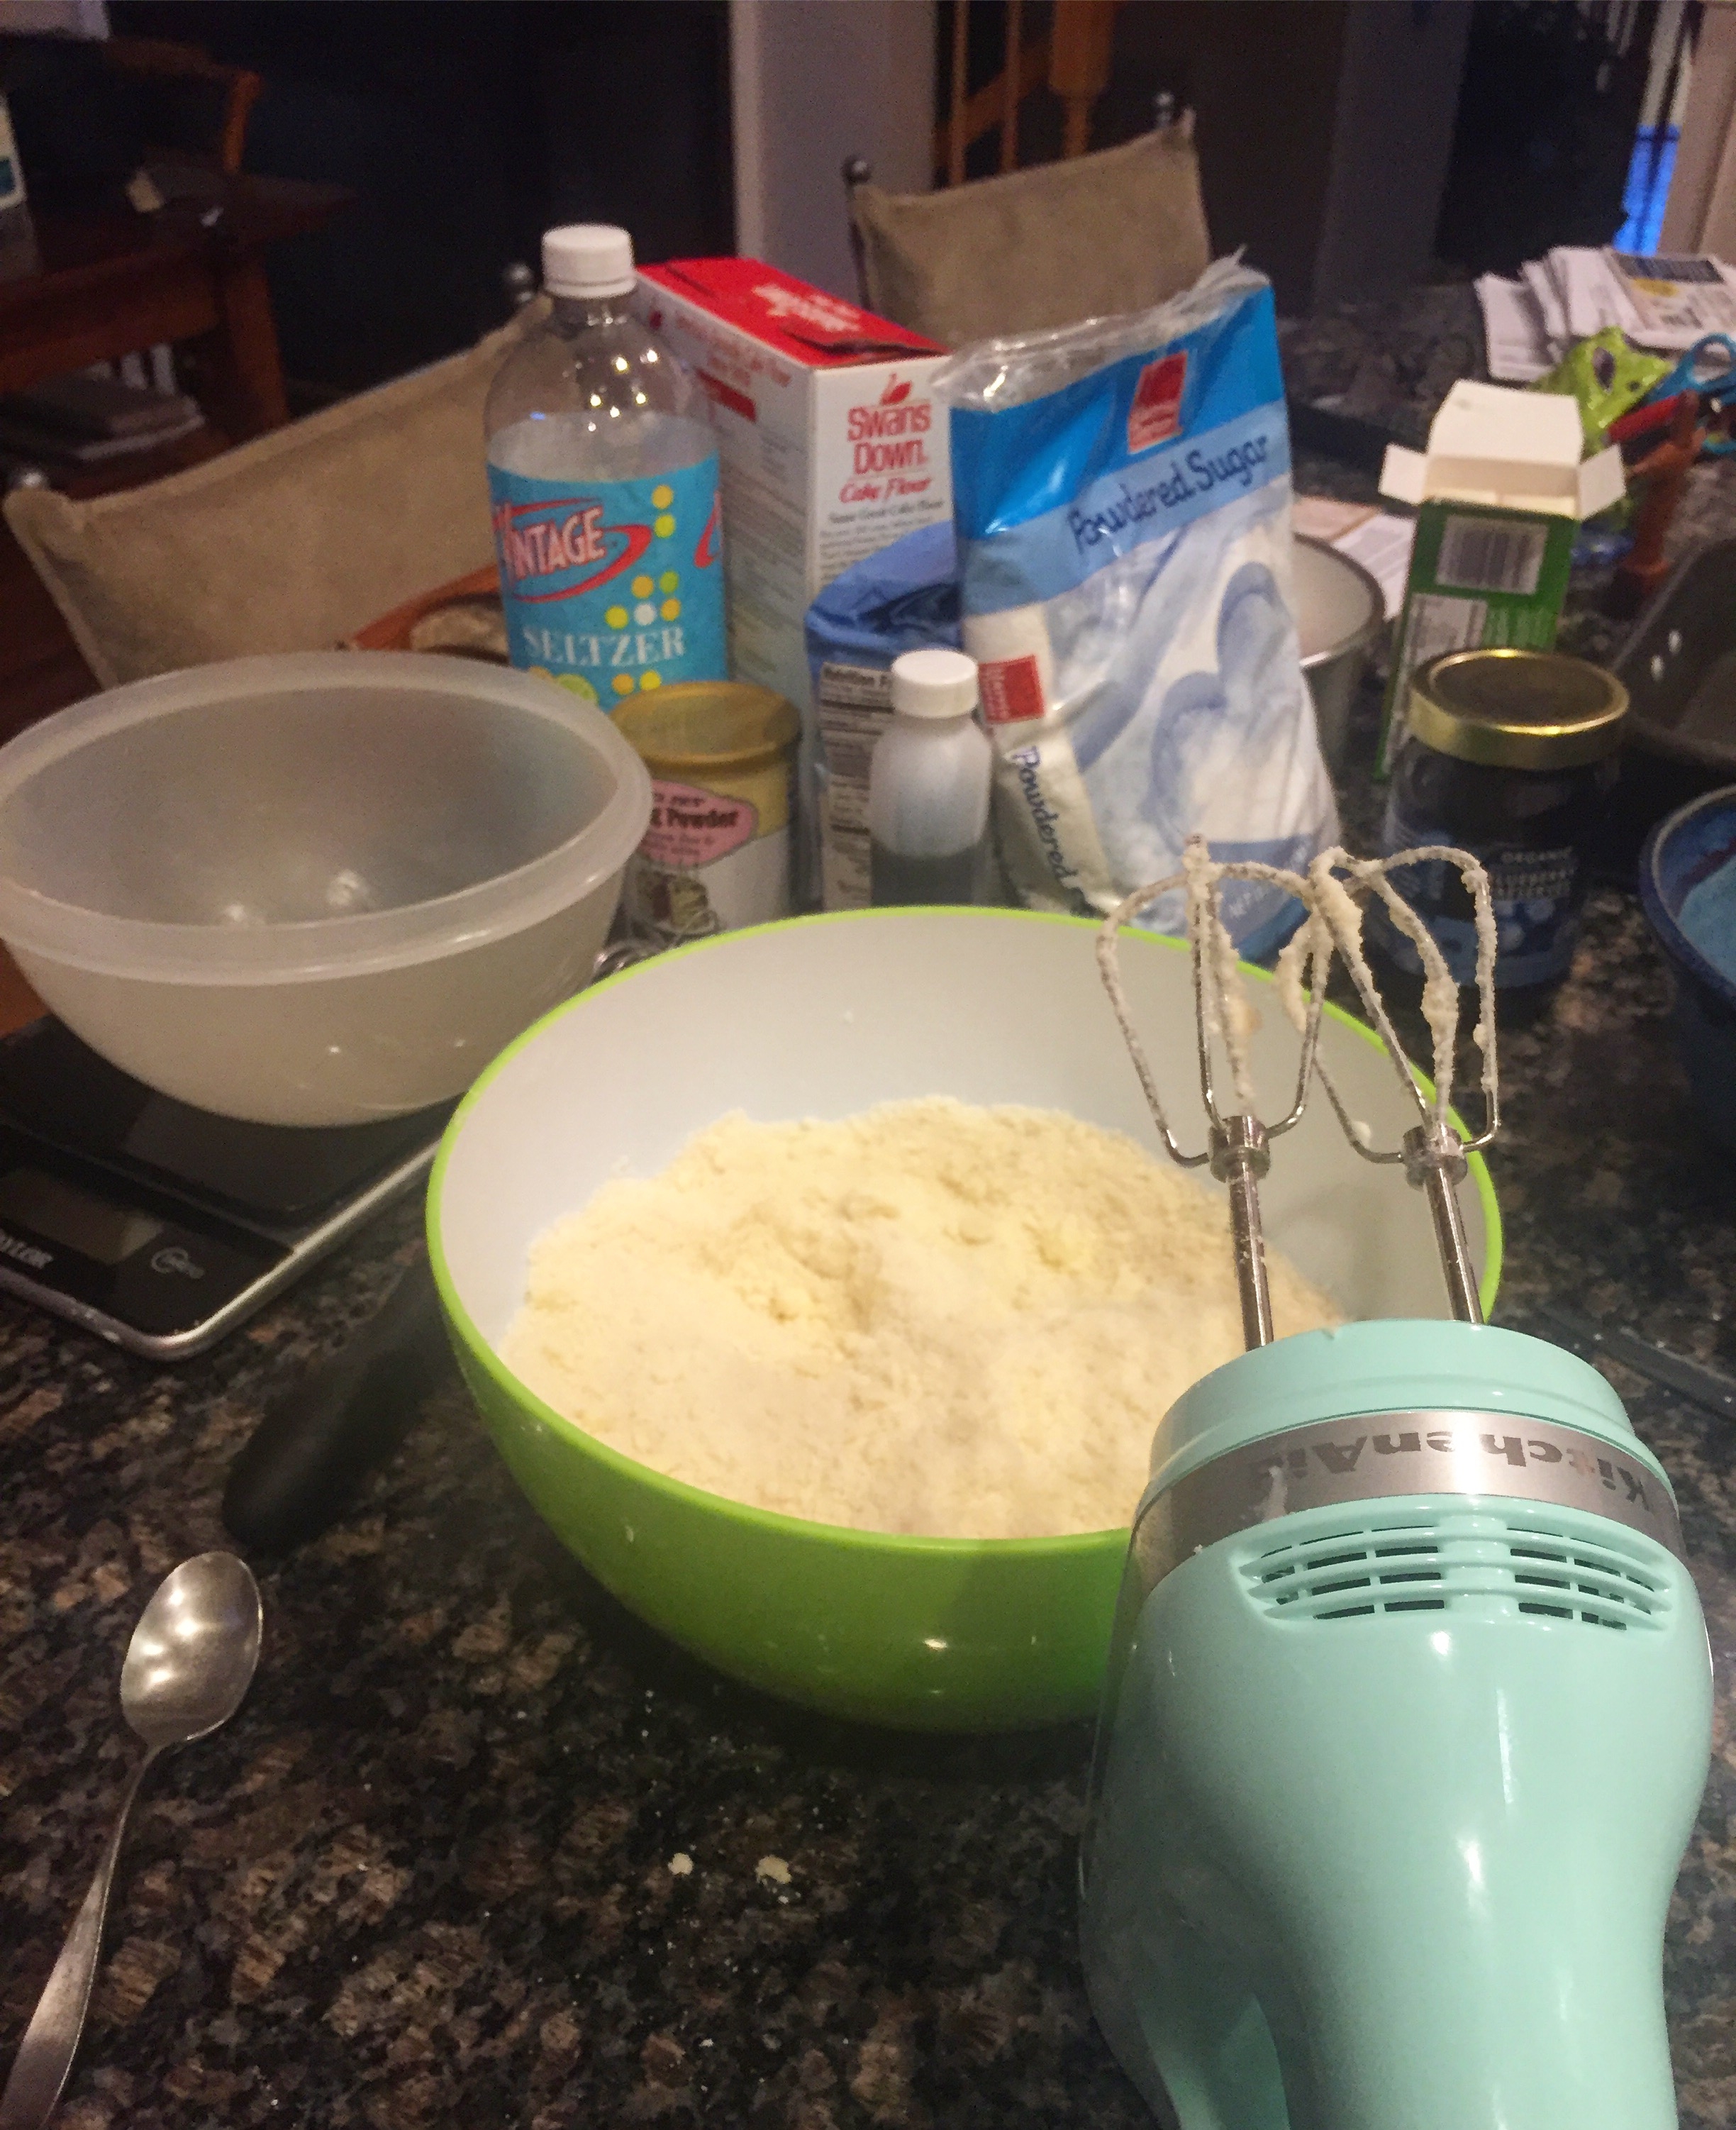
I’m finding it hard to write with my usual sense of joviality today, but I do have a recipe to share, and it’s a good one and definitely hits the mark on the healthy/delicious scale. One of our go-to meals is stir fry, but its rare that we make it with anything but chicken. And if I’m being quite honest, I’m over all of the chicken. Too much chicken. All the time.

So, in meal planning for this week, we took a stroll through Costco and picked up a few cuts of meat that we don’t usually get, namely a massive amount of chuck roast. Which is perfect for throwing in the slow cooker and making things like Italian beefs, and, as it happens, stir fry.

img_3169

Ingredients:

Broccoli (4 cups, ish), chopped

Snow peas (a couple handfuls)

Whole red and yellow peppers, sliced

1 large white onion, diced

1.5 lb Chuck Roast

Salt

Pepper

Ginger (to taste)

Onion powder (to taste)

Cayenne (to taste)

Soy sauce

Teriyaki sauce

Sesame oil (JUST A LITTLE)

Kikkoman Stir Fry Sauce

Lime juice

Pull out your crock pot, tenderize that chuck roast to within an inch of it’s life. Seriously. Slice into inch cubes. Toss in the crock pot with soy sauce and teriyaki and a liiiiiittle bit of sesame oil. Also throw in your seasonings, to taste. Let that sit for… a few hours. Like, maybe four? Or five? Just let it ride for a while. When it’s broken down and falling apart, it’s ready.

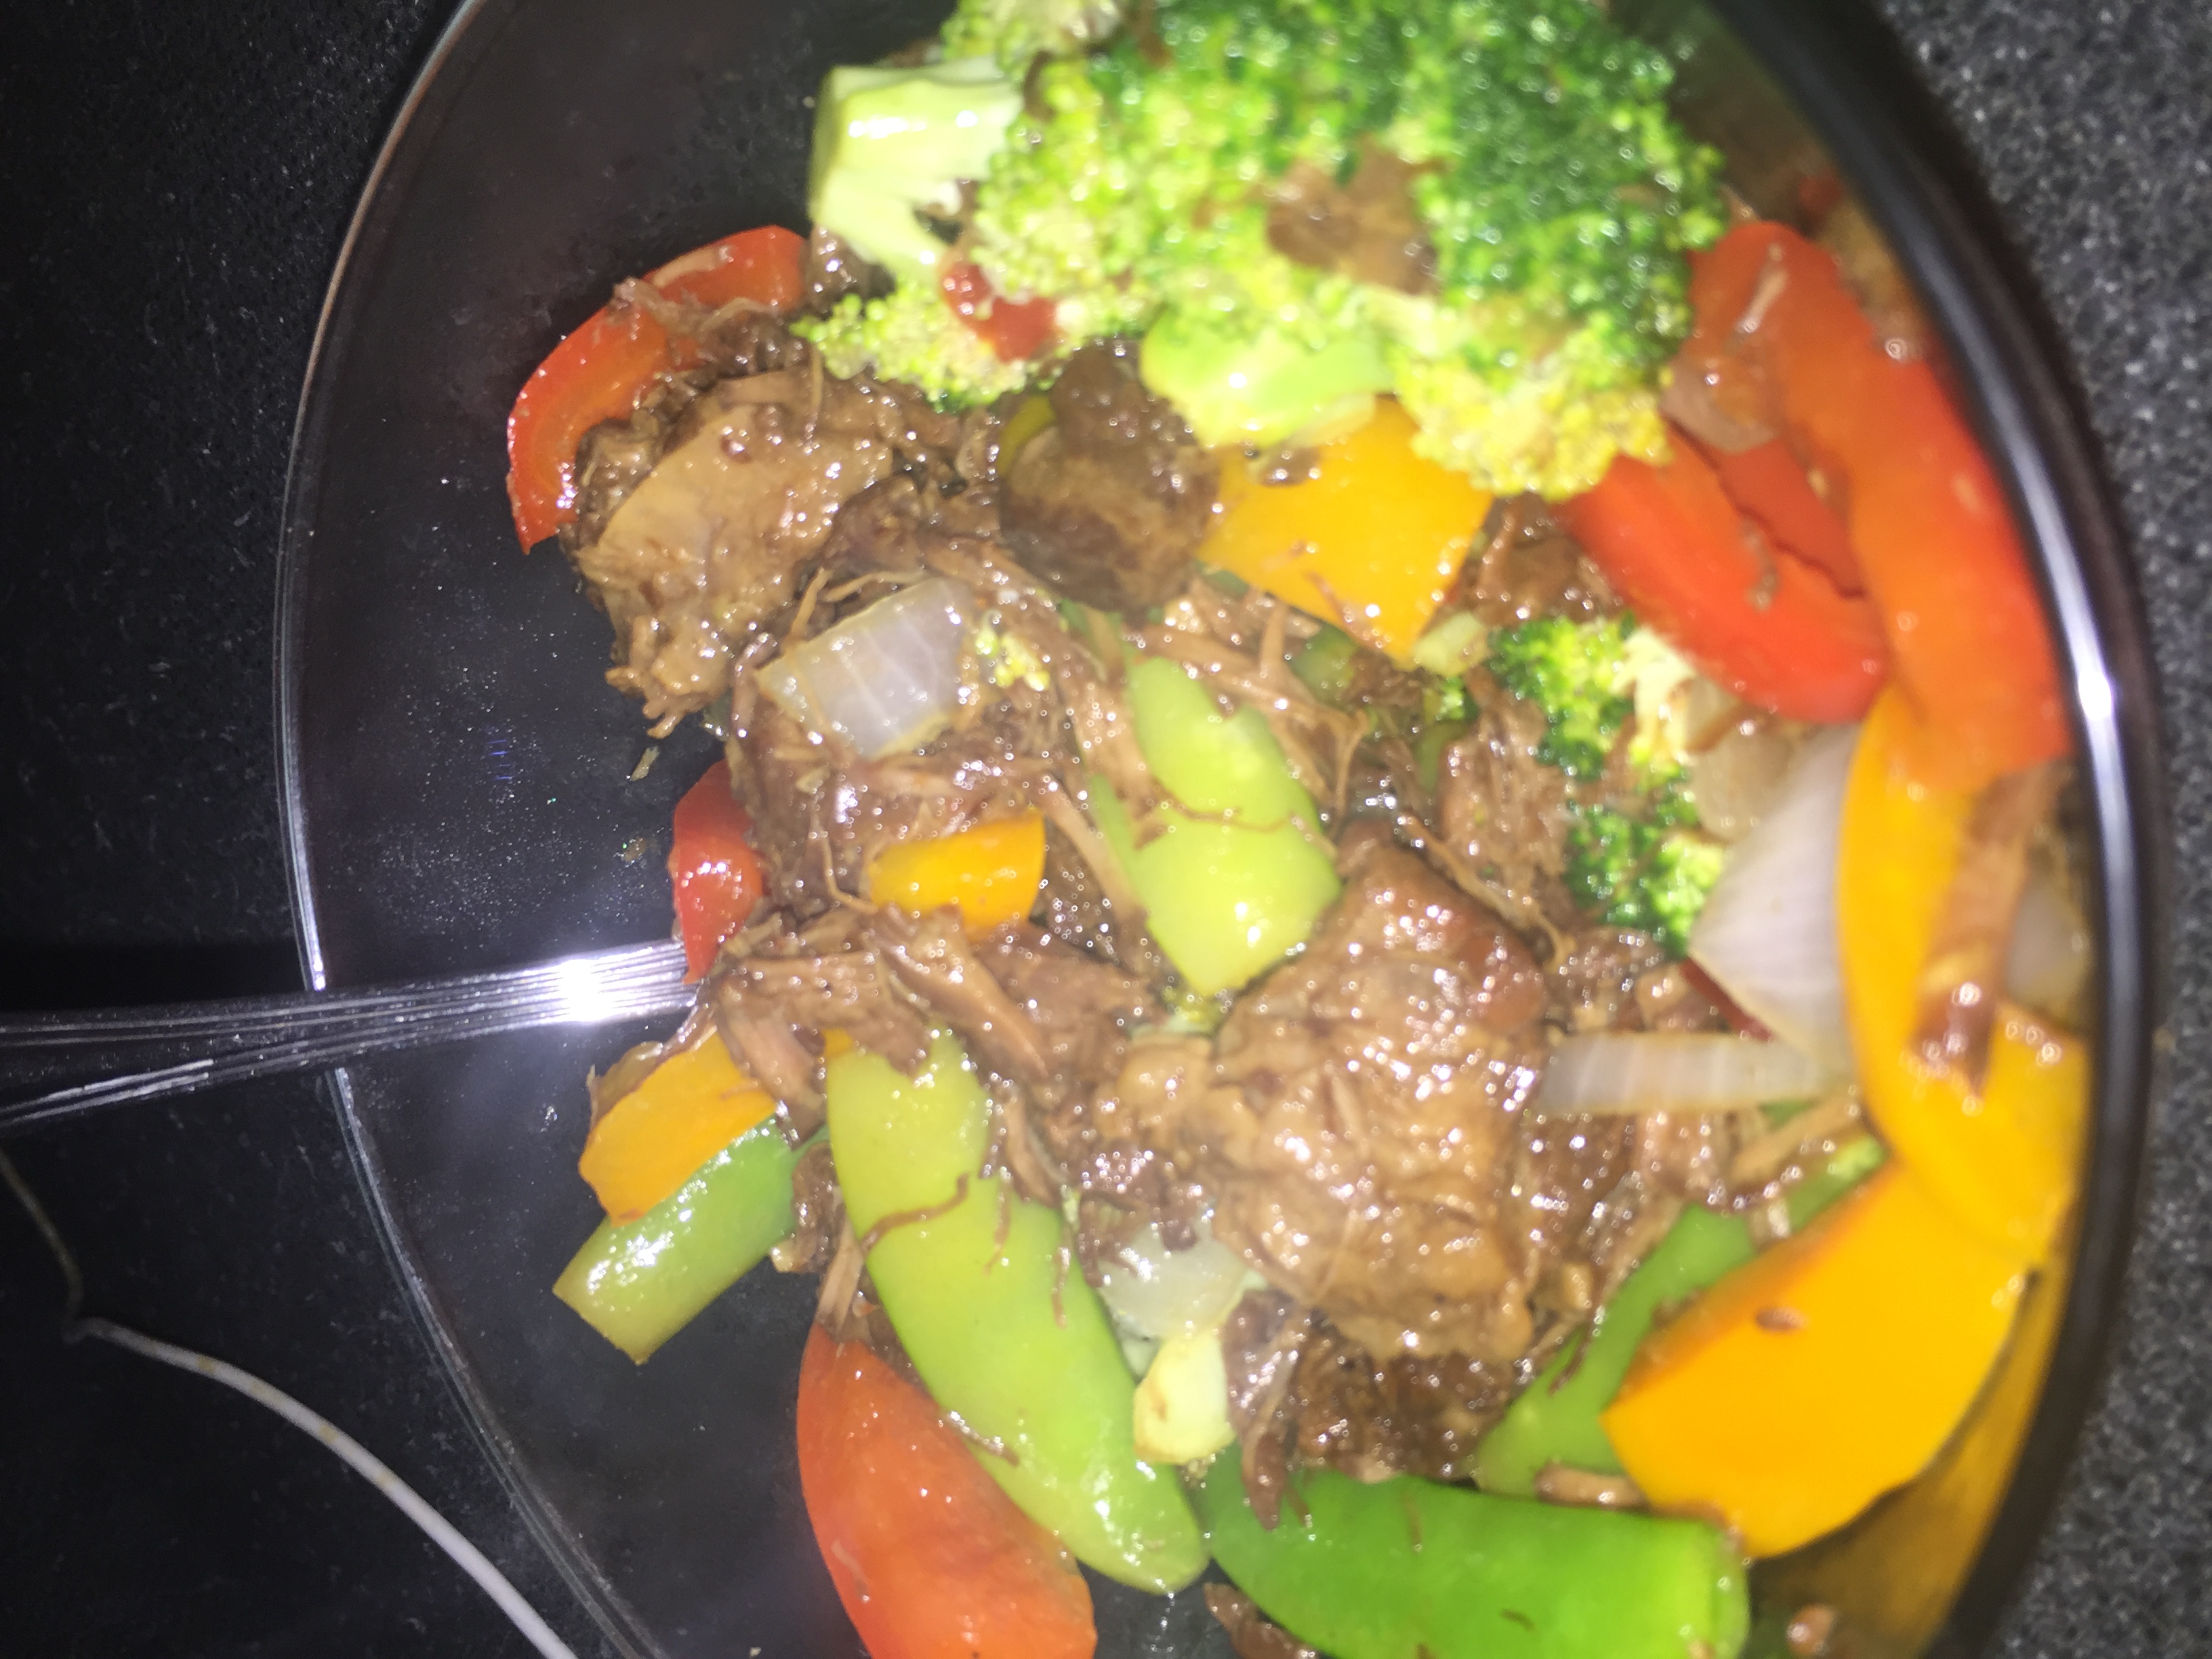
When your meat is ready, get your veggies all chopped up. Throw them all in a wok (or sautee pan, whatever), on medium heat with olive oil covering the bottom. Add a few squirts of lime juice. Stir occasionally, making sure to evenly distribute oil and juice on all the veggies. Cook only until warm through – they should still be pretty crisp. Drop the meat on top, stir it up and feed your face.

You will have a BUNCH of foodz and in my house, that means leftovers, which are the best.

DIY Wedding: Cakes!

This time last year, I was blogging a lot about marathon training. And running. And lifting.

This year? There’s almost no running to speak of. I don’t have a race to train for and I’m enjoying finding all of the other ways my body can work – and trying to maintain a balance between work and extracurriculars and life.

I’m also knee-deep in wedding planning, which is proving to be a whole other adventure, let me tell you. A fun adventure, but definitely an adventure.

Because my fiance and I are trying to keep or wedding simple and small, and because we’re working with a very modest budget, we’ve decided to DIY a lot of it. Flowers, music, booze, desert, maybe even my dress. Fortunately, having a small wedding means that coordinating all of this won’t be terribly outrageous.

The thing I’m the most excited about DIY-ing though? The cake! I love to bake and while I had never made a wedding cake before, I felt pretty confident in my ability to figure it out. I’m no professional by a long shot, and I’m not even that well-versed in decorating, but I am preeeetttyyy good at following instructions and my Pinterest project success rate is super high.

In addition to baking a lot of cookies and bars and other treats, my primary preparation for this project has been to watch way too much of The Great British Baking Show (which is arguably the best show on television, and if you’re not watching it, what’s wrong with you?).

So, two weeks ago, while home alone for the weekend and having the kitchen to myself, I decided to get started. This is how much cake baking I haven’t done in recent years: I didn’t even own a cake pan. I went out and secured a couple cake pans and got to work.

So. Much. Butter. In. Here.

So. Much. Butter. In. Here.

This batter is so light and fluffy and YUM.

I started with a simple vanilla butter cake recipe, but I didn’t have the called-for cake flour, so I just forged ahead with AP flour and kept working. I also thought to myself “hey self, you’ve never tried to make fondant before, why not try now, since you have all of the ingredients.” I wish I’d thought to take pictures of THAT hot mess, because whoa. The mess was real. Melted marshmallows and powdered sugar literally everywhere in my kitchen. And then I threw together some vanilla buttercream frosting. The end result didn’t turn out half bad.

IMG_2878

The cake was slightly underbaked and a little bit more dense (thanks, AP flour), but the taste was great and everyone in my office who got to taste test enjoyed it.

For our second trial, I decided to play with flavors and still not worry too much about decorating or overall aesthetics. This time, I opted for some blueberry jam as the filling along with almond buttercream. No fondant this time and to keep it simple, I just did one size cake.

IMG_2914

I had actual cake flour this time around, so the crumb of this bake was a little looser, but the taste was just as good and stayed just as moist. The almond buttercream was a big hit and Clay (who famously doesn’t like cake) asked for an even bigger slice than the test one I gave him. He thought that there could be more blueberry – I tend to agree.

As the wedding gets closer, there will be more test bakes with a few more flavors and a greater attempt at decorating. Ultimately, I want a naked or semi-naked cake, so I’ll be working mostly with fruits and flowers to decorate. I’m still looking for other cake recipes, so if anyone has any reliable ones, I’d love to try them!

Recipe Box: Salted Caramel Cookie Bars

It’s been raining. For forever. Everything is wet and cold and terrible.

Consequently, I feel super unmotivated kind of all the time and basically hibernation seems like the best option.

I need summer, badly. I’m starting to feel like a slug.

So, to feel better, I bake. Last weekend was the last concert of my choir’s season and I volunteered to bring one of my favorite sweet treats: Salted Caramel Cookie Bars. I discovered this recipe last summer and it’s become one of my go-tos for birthdays and special occasions.

Let’s break it down really quick: layer of chocolate chip cookie dough, layer of salted caramel, layer of cookie dough.

emoji

These bars are ridiculous. On their own, the cookie bars would be delicious, but adding the layer of caramel is some next level ish. (And then, when you’re done with the bowl that you melted the caramel in, you can make whipped cream in it with your leftover heavy cream, and then your whole life will be magic. Because caramel flavored whipped cream.)

INGREDIENTS:
2 1/8 cups all-purpose flour
1/2 teaspoon salt
1/2 teaspoon baking soda
12 tablespoons butter, melted and cooled to room temperature
1 cup light brown sugar
1/2 cup granulated sugar
1 large egg
1 large egg yolk
2 teaspoons vanilla extract
2 cups chocolate chips
10 ounces caramel candy squares, unwrapped
3 tablespoons heavy cream
Sea salt, for sprinkling over caramel and bars
DIRECTIONS:
1. Preheat oven to 325 degrees F. Spray an 9×13 baking dish with nonstick cooking spray and set aside.

2. In a medium bowl, whisk together flour, salt, and baking soda. Set aside.

3. In the bowl of a stand mixer, mix the melted butter and sugars together until combined. Add the egg, egg yolk, and vanilla extract and mix until smooth. Slowly add the dry ingredients and mix on low, just until combined. Stir in the chocolate chips.

4. In a large microwave safe bowl, combine the caramels and heavy cream. Microwave caramels on High until caramels are melted, stirring every 20 seconds. This will take about 2 minutes, depending on your microwave.

5. Divide the cookie dough in half. Press half of the cookie dough into the prepared pan, smoothing the top with the spatula. Pour hot caramel over the cookie dough. Sprinkle caramel with sea salt. Drop spoonfuls of cookie dough over the caramel and spread dough with a spatula until the caramel is covered. Sprinkle the bars with additional sea salt.

6.Bake cookie bars for 30 minutes or until the top of the bars are light golden brown and the edges start to pull away from the pan. Cool bars on a wire rack to room temperature. Cut bars into squares and serve.